


Teacher's Day is a special occasion to express our heartfelt gratitude to the educators who shape our lives. A handmade card, crafted with love and creativity, is a wonderful way for kids to show their appreciation.
In this article, we've gathered 15 easy and budget-friendly handmade Teachers' Day card ideas that are perfect for children of all ages.
These ideas allow kids to personalise their cards with a unique touch, showcasing their creativity and making their favourite teacher feel truly special. Let's celebrate the joy of learning and the dedication of our teachers with these heartwarming handmade card ideas!
#1. Paint With Nature (Leaves, Flowers)

There's something truly special about incorporating elements of nature into a handmade Teacher's Day card.
It not only adds a unique and personal touch but also symbolises growth, nurturing, and the beauty of knowledge – much like the role of a teacher in a child's life.
This DIY Teacher's Day card idea is perfect for kids of all ages, allowing them to express their creativity while showing appreciation for their favourite teacher.
Materials:
- Fresh leaves and flowers (flat ones work best)
- Coloured paper or cardstock
- Paint (watercolour or acrylic)
- Paintbrushes
- Pencil (optional)
- Scissors
- Glue
Instructions:
- Collect your nature treasures: Gather a variety of leaves and flowers. You can use fallen ones from your garden or go on a nature walk to find interesting shapes and colours.
- Prepare your canvas: Choose a piece of coloured paper or cardstock for your card base. Fold it in half if you want a traditional greeting card format.
- Arrange your design: Lay out your leaves and flowers on the card to create a pleasing composition. You can sketch out your design lightly with a pencil first if you prefer.
- Paint and print: Dip your leaves and flowers in paint, then carefully press them onto the card to create prints. Experiment with different colours and techniques to achieve unique effects.
- Add details: Once the prints are dry, you can use paintbrushes to add details, outlines, or messages.
- Let it dry: Allow the paint to dry completely before handling the card.
- Assemble and personalise: Glue your painted elements onto the card base. You can also add stickers, embellishments, or a handwritten note to make it even more special.
#2. Use Fabric And Embroidery Floss

Fabric and embroidery floss offer a wonderful opportunity to create a textured and colourful Teacher's Day card that stands out from the rest.
This DIY Teacher's Day card idea is a great way for kids to practise their sewing skills or simply experiment with different materials.
Materials:
- Coloured cardstock or sturdy paper
- Fabric scraps in various colours and patterns
- Embroidery floss in coordinating colours
- Needle
- Scissors
- Glue
- Pencil (optional)
Instructions:
- Plan your design: Sketch out your design on the cardstock with a pencil. Think about simple shapes, patterns, or even a message you'd like to sew onto the fabric.
- Cut your fabric: Cut out the fabric pieces according to your design. You can use different shapes, sizes, and patterns to create a visually interesting composition.
- Sew your design: Thread your needle with embroidery floss and carefully sew the fabric pieces onto the cardstock. You can use simple stitches like running stitch or backstitch, or get creative with more intricate patterns.
- Add finishing touches: Once you've sewn all the fabric pieces, you can add additional details with embroidery floss, such as outlines, accents, or a personalised message.
- Assemble your card: Glue the finished fabric piece onto your card base. You can also add other embellishments, like stickers or ribbon, to complete the look.
#3. Pressed Flowers

A Teacher's Day card made with pressed flowers is a delicate and timeless way to show appreciation. It captures the beauty and fragility of nature, reflecting the care and patience teachers put into nurturing young minds.
This DIY Teacher's Day card idea is perfect for children who want to create a unique and sentimental gift that their teacher will cherish.
Materials:
- Fresh flowers (small, flat flowers work best)
- Heavy books
- Absorbent paper (tissue paper or blotting paper)
- Cardstock or coloured paper
- Glue
- Scissors
- Pen or markers (optional)
Instructions:
- Press your flowers: Place the flowers between two sheets of absorbent paper inside a heavy book. Make sure the flowers are not overlapping. Close the book and weigh it down with additional books or heavy objects. Leave the flowers to press for at least a week, or until they are completely dry and flat.
- Prepare your card: Fold a piece of cardstock or coloured paper in half to create a card base.
- Arrange your design: Carefully arrange the pressed flowers on the card, creating a beautiful composition. You can use tweezers to handle the delicate flowers.
- Glue the flowers: Once you're happy with the arrangement, use a small amount of glue to secure the flowers to the card.
- Add a message: Write a heartfelt message inside the card, expressing your gratitude to your teacher. You can also add additional decorations or embellishments if desired.
#4. Use Cookie Cutters

Using cookie cutters to create shapes for a Teacher's Day card is a fun and creative way to add a personal touch.
It's a simple yet effective DIY idea that children of all ages can enjoy. This project allows kids to express their creativity while showing their appreciation for their teachers.
Materials:
- Coloured paper or cardstock in various colours
- Cookie cutters in different shapes
- Pencil
- Scissors
- Glue
- Markers, crayons, or coloured pencils (optional)
- Embellishments (stickers, glitter, etc.) (optional)
Instructions:
- Trace your shapes: Place the cookie cutters on the coloured paper or cardstock and trace around them with a pencil.
- Cut out the shapes: Carefully cut out the traced shapes using scissors. You can use different colours and sizes of cookie cutters to create a variety of shapes.
- Arrange your design: Arrange the cut-out shapes on the card base to create a design. You can layer the shapes, overlap them, or create a pattern.
- Glue the shapes: Once you're happy with the arrangement, glue the shapes onto the card base.
- Add details and a message: Use markers, crayons, or coloured pencils to add details or write a message on the card. You can also add embellishments like stickers or glitter to make the card even more special.
#5. Create 3D Cards

A 3D Teacher's Day card is a delightful way to add an element of surprise and wonder to your heartfelt message. The interactive elements bring the card to life, making it a memorable and cherished keepsake for your teacher.
This DIY Teacher's Day card idea is perfect for kids who want to showcase their creativity and make their teacher feel truly special.
Materials:
- Coloured cardstock or sturdy paper
- Scissors
- Glue or double-sided tape
- Markers, crayons, or coloured pencils
- Embellishments (stickers, glitter, etc.) (optional)
- Templates or patterns for 3D elements (optional)
Instructions:
- Choose your 3D element: Decide on the type of 3D element you want to include in your card. Popular options include pop-up flowers, animals, or geometric shapes. You can find templates or patterns online, or create your own design.
- Cut and fold: Cut out the 3D elements from coloured paper or cardstock. Follow the template or pattern to create the necessary folds and creases.
- Assemble the 3D element: Carefully assemble the 3D element, using glue or double-sided tape to secure the folds and tabs.
- Attach to the card: Glue or tape the assembled 3D element to the inside of your card base. Make sure it's positioned securely so it pops up when the card is opened.
- Decorate and personalise: Decorate the rest of the card with drawings, messages, or embellishments. Add a heartfelt message to express your gratitude to your teacher.
#6. Feature Photos

A Teacher's Day card featuring a photo is a beautiful way to capture a special moment and create a lasting memory.
It's a personalised and heartfelt gift that your teacher will treasure. This DIY Teachers' Day card idea is perfect for kids of all ages and can be adapted to suit any teacher-student relationship.
Materials:
- A printed photo of the student, the teacher, or a shared memory
- Cardstock or coloured paper
- Scissors
- Glue or double-sided tape
- Markers, crayons, or coloured pencils
- Embellishments (stickers, washi tape, etc.) (optional)
Instructions:
- Choose your photo: Select a photo that captures a positive memory or reflects the bond between the student and teacher.
- Prepare your card base: Fold a piece of cardstock or coloured paper in half to create a card base.
- Mount the photo: Trim the photo to the desired size and glue or tape it onto the front or inside of the card.
- Decorate and personalise: Use markers, crayons, or coloured pencils to add decorations or write a message around the photo. You can also use embellishments like stickers or washi tape to create a frame or add extra flair.
- Write a message: Write a heartfelt message inside the card, expressing your gratitude and appreciation for your teacher.
#7. Make A Life-Size Cards With Handprints

A life-size Teacher's Day card made with handprints is a fun and memorable way for kids to express their gratitude. It's a creative project that results in a unique and personalised gift that their teacher will cherish.
This DIY Teachers' Day card idea is perfect for younger children, allowing them to actively participate in the card-making process and showcase their artistic abilities.
Materials:
- Large sheet of paper or cardboard
- Paint (non-toxic and washable)
- Paintbrushes
- Markers or crayons
- Glue
- Scissors
- Decorations (optional: glitter, stickers, ribbon, etc.)
Instructions:
- Prepare your canvas: Lay the large sheet of paper or cardboard flat on a protected surface.
- Make handprints: Help your child dip their hand in paint and carefully press it onto the paper to create a handprint. You can make multiple handprints in different colours or create a design with overlapping prints.
- Add details: Once the paint is dry, use markers or crayons to add details to the handprints, such as eyes, a smile, or a message. You can also decorate the rest of the card with drawings, stickers, or other embellishments.
- Write a message: Write a heartfelt message on the card, expressing your child's appreciation for their teacher.
- Present your card: Let the card dry completely before presenting it to the teacher.
#8. Use Felt Cards

A Teacher's Day card made with felt is a delightful and tactile way to express your appreciation. Its soft texture and vibrant colours create a unique and charming gift that your teacher will adore.
This DIY Teachers' Day card idea is suitable for kids who enjoy crafting and want to create a lasting impression.
Materials:
- Coloured felt sheets
- Scissors
- Glue
- Cardstock or sturdy paper
- Markers or fabric pens
- Embellishments (buttons, sequins, ribbon, etc.) (optional)
Instructions:
- Plan your design: Sketch out your design on paper or directly onto the felt. Consider simple shapes like apples, pencils, or hearts, or create a scene related to the teacher's subject.
- Cut out felt pieces: Carefully cut out the felt pieces according to your design. You can use different colours and textures of felt to add visual interest.
- Assemble your design: Arrange the felt pieces on the cardstock or paper to create your desired design.
- Glue the felt: Once you're happy with the arrangement, glue the felt pieces onto the card base.
- Add details and a message: Use markers or fabric pens to add details or write a message on the card or felt pieces. You can also add embellishments like buttons, sequins, or ribbon to make the card even more special.
#9. Make Zig-Zag Cards

A zig-zag card adds a playful and interactive element to your Teacher's Day greetings. It's a fun DIY project that reveals a hidden message or design as the recipient unfolds the card, creating a delightful surprise.
This Teacher's Day card idea is perfect for kids who want to showcase their creativity and add a unique touch to their appreciation message.
Materials:
- Coloured paper or cardstock
- Scissors
- Ruler
- Pencil
- Markers, crayons, or coloured pencils
- Glue or double-sided tape
- Embellishments (stickers, glitter, etc.) (optional)
Instructions:
- Prepare your paper: Cut a piece of coloured paper or cardstock to your desired card size.
- Mark and fold: Use a ruler and pencil to mark vertical lines across the paper, spacing them evenly apart. Fold the paper along these lines, creating a zig-zag pattern.
- Decorate each section: Unfold the paper and decorate each section of the zig-zag with drawings, messages, or patterns. You can create a continuous design or write a message that's revealed as the card is unfolded.
- Re-fold and secure: Carefully re-fold the paper along the creases to create the zig-zag shape again. Secure one end with glue or double-sided tape to keep the card closed.
- Add finishing touches: Decorate the front of the card with a title, the recipient's name, or additional embellishments.
#10. Use Fruit Cards

Using fruit to create prints for a Teacher's Day card is a unique and playful way to show your appreciation. It's a fun and sensory DIY project that's perfect for younger kids.
This Teacher's Day card idea allows children to experiment with different fruits and colours, creating a one-of-a-kind card that their teacher will love.
Materials:
- Firm fruits (apples, pears, citrus fruits) cut in half
- Paint (non-toxic and washable)
- Paper plates or shallow dishes
- Cardstock or coloured paper
- Paintbrushes
- Markers or crayons (optional)
Instructions:
- Prepare your fruit stamps: Cut the fruits in half and pat them dry with a paper towel.
- Pour paint onto plates: Pour different colours of paint onto separate paper plates or shallow dishes.
- Dip and stamp: Dip the cut side of the fruit into the paint and then press it firmly onto the cardstock or paper to create a print. Experiment with different fruits and colours to create a variety of patterns and designs.
- Add details: Once the paint is dry, you can use markers or crayons to add details, outlines, or messages to your fruit prints.
- Let it dry: Allow the paint to dry completely before handling the card.
- Assemble and personalise: Glue your painted elements onto the card base. You can also add stickers, embellishments, or a handwritten note to make it even more special.
#11. Decorate A Cookie Or Chocolate Tin

A decorated cookie or chocolate tin is a delightful and practical Teacher's Day gift that combines a sweet treat with a heartfelt message.
It's a creative DIY idea that allows kids to personalise a reusable container, turning it into a cherished keepsake for their teacher.
This thoughtful gift goes beyond a traditional card, offering a tangible expression of gratitude that can be enjoyed long after Teacher's Day.
Materials:
- Empty cookie or chocolate tin
- Paint (acrylic or spray paint)
- Paint Brushes or sponges
- Markers, pens, or paint pens
- Stickers, washi tape, or other embellishments (optional)
- Glue
- Ribbon or twine (optional)
- Cardstock or paper for a message
- Cookies or chocolates to fill the tin
Instructions:
- Clean and prepare the tin: Wash and dry the tin thoroughly. Remove any labels or stickers.
- Paint the tin: If desired, paint the entire tin with a base coat of paint. Let it dry completely.
- Decorate the tin: Use paintbrushes, sponges, markers, or paint pens to decorate the tin with designs, patterns, or messages. You can also add stickers, washi tape, or other embellishments to personalise it further.
- Add a message: Write a heartfelt message on a piece of cardstock or paper and glue it inside the lid of the tin or attach it with a ribbon.
- Fill the tin: Fill the tin with your teacher's favourite cookies or chocolates.
- Tie a ribbon: If desired, tie a ribbon or twine around the tin for a finishing touch.
#12. Create A Personalised Notepad

A personalised notepad is a practical and thoughtful Teacher's Day gift that combines functionality with a heartfelt touch.
It's a DIY project that allows kids to showcase their creativity while providing their teacher with a useful tool they can use every day. This thoughtful gift goes beyond a simple card, offering a lasting reminder of your appreciation.
Materials:
- Plain notepad or stack of paper
- Cardstock or coloured paper for the cover
- Hole punch
- Twine, ribbon, or binder rings
- Markers, crayons, or coloured pencils
- Stickers, washi tape, or other embellishments
- Glue or double-sided tape
Instructions:
- Design the cover: Decorate the cardstock or coloured paper with drawings, patterns, or a special message for your teacher. You can also add stickers, washi tape, or other embellishments to personalise it further.
- Assemble the notepad: Punch holes along one edge of the decorated cover and the stack of paper. Secure them together using twine, ribbon, or binder rings.
- Add a personal touch: Write a heartfelt message on the first page of the notepad, expressing your gratitude and appreciation for your teacher. You can also include a small drawing or a special quote.
#13. Make A Gratitude Scroll

A gratitude scroll is a heartfelt and unique way to express your appreciation for your teacher on Teacher's Day.
It allows you to list all the reasons why you're thankful for their guidance and support, creating a personalised and meaningful gift. This DIY Teacher's Day card idea is perfect for students of all ages and can be customised to fit any teacher-student relationship.
Materials:
- Long strip of paper (butcher paper, craft paper, or even multiple sheets of paper taped together)
- Markers, crayons, or coloured pencils
- Decorations (stickers, glitter, drawings, etc.)
- Ribbon or twine
Instructions:
- Prepare your scroll: Cut a long strip of paper to your desired size. You can also decorate the edges of the paper with colourful borders or patterns.
- Write your message: Use markers, crayons, or coloured pencils to write a heartfelt message of gratitude to your teacher. List specific reasons why you appreciate them, highlighting their positive qualities and the impact they've had on your life.
- Decorate your scroll: Add drawings, stickers, or other embellishments to decorate your scroll and make it even more personal.
- Roll and tie: Carefully roll up the scroll and tie it with a ribbon or twine. You can also attach a small tag with your name and a special message.
#14. Design A Banner Card

A banner card is a festive and eye-catching way to celebrate Teachers' Day and express your appreciation. This DIY card idea involves creating a series of colourful flags, each adorned with a message or drawing, that come together to form a celebratory banner.
It's a fun and creative project that's perfect for kids of all ages, allowing them to showcase their artistic talents while conveying their heartfelt gratitude.
Materials:
- Coloured paper or cardstock in various colours
- Scissors
- Ruler
- Pencil
- Markers, crayons, or coloured pencils
- Hole punch
- String, ribbon, or yarn
- Glue or tape
- Embellishments (stickers, glitter, etc.) (optional)
Instructions:
- Cut out flags: Cut out triangular flags from the coloured paper or cardstock. You can use a ruler and pencil to draw the shapes before cutting, or freehand them for a more organic look.
- Decorate the flags: Decorate each flag with drawings, messages, or patterns that express your appreciation for your teacher. You can write specific qualities you admire, thank them for their support, or simply share a heartfelt message.
- Punch holes: Punch two holes near the top of each flag, leaving enough space for the string or ribbon to pass through.
- String the flags: Thread the string, ribbon, or yarn through the holes in the flags, spacing them evenly apart. Secure the ends of the string to the card base or leave them loose for a hanging banner.
- Add finishing touches: Decorate the card base with additional drawings, messages, or embellishments. You can also add a title or the recipient's name to personalise the card further.
#15. Make A Coffee Cup Card

A coffee cup card is a quirky and creative way to show your appreciation for your teacher, especially if they're known for their love of coffee.
This DIY Teachers' Day card idea is a fun and engaging project that allows kids to express their gratitude in a unique and personalised way. It's a thoughtful gesture that's sure to bring a smile to your teacher's face and warm their heart.
Materials:
- Brown or white cardstock or paper
- Scissors
- Ruler
- Pencil
- Markers, crayons, or coloured pencils
- Glue or double-sided tape
- Embellishments (stickers, glitter, cotton balls for "steam," etc.) (optional)
Instructions:
- Create the cup shape: On the brown or white cardstock, draw a coffee cup shape, including a handle. Alternatively, you can find a template online and print it out.
- Cut out the shape: Carefully cut out the coffee cup shape using scissors.
- Decorate the cup: Use markers, crayons, or coloured pencils to decorate the cup with patterns, designs, or a special message for your teacher. You can also add embellishments like stickers or glitter to make it more festive.
- Add a "lid": Cut a small strip of paper to create a "lid" for the coffee cup. Glue or tape it to the top of the cup.
- Create "steam": If desired, glue small cotton balls or crumpled tissue paper above the lid to create the illusion of steam rising from the cup.
- Write a message: Write a heartfelt message inside the card, expressing your gratitude and appreciation for your teacher.
Conclusion About DIY Teachers Day Card Ideas
Teachers' Day is the perfect occasion to show your appreciation for the educators who shape young minds and inspire future generations. A handmade card, crafted with love and creativity, is a wonderful way to express your gratitude and make your teacher feel truly special.
We've explored a variety of DIY Teachers' Day card ideas, from painting with nature's elements to designing personalised notepads. These simple yet impactful projects allow children to showcase their artistic talents and create unique gifts that their teachers will treasure.
Remember, it's the thought and effort that count, and even the smallest gesture can make a big difference in a teacher's day. So, gather your materials, let your creativity flow, and craft a heartfelt card that will brighten your teacher's day and let them know how much they are appreciated.
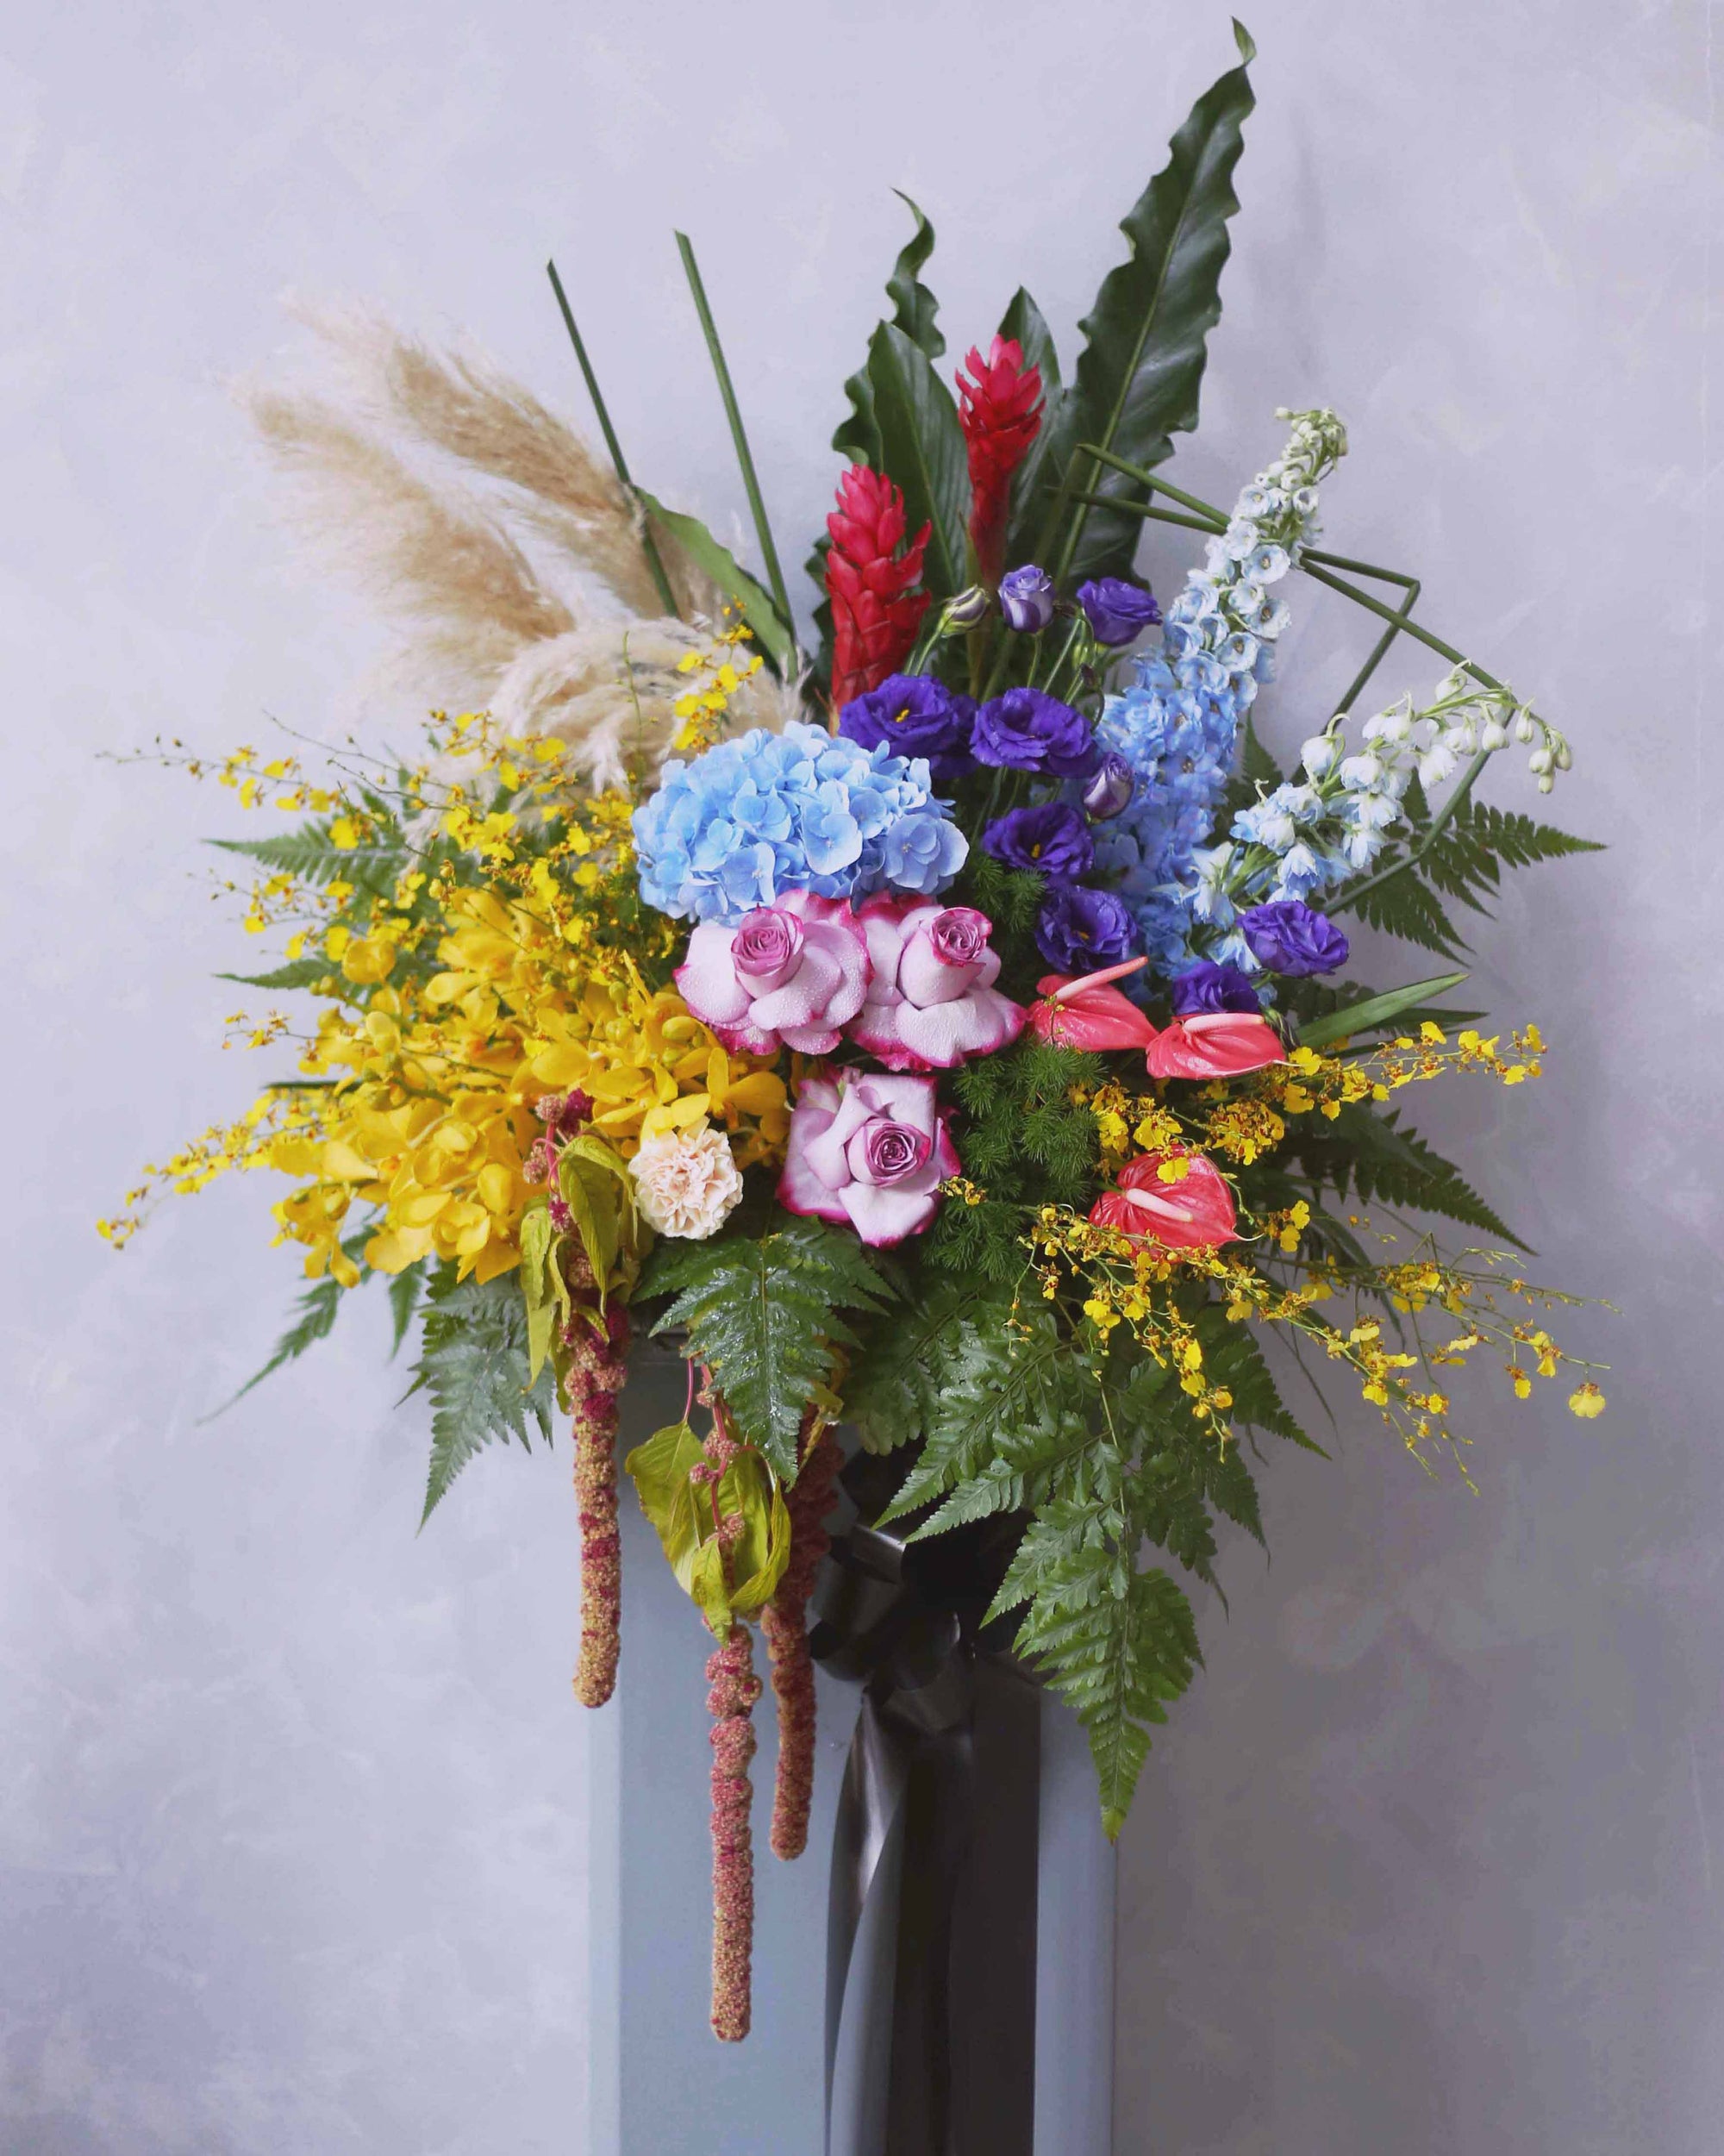
Looking to add an extra touch to your handmade Teachers' Day card? Consider pairing it with a beautiful flower arrangement from Windflower Florist, the best florist in Singapore! We guarantee same-day flower delivery, ensuring your thoughtful gift arrives on time or it's free.
As a premier florist in Singapore, we pride ourselves on delivering only the freshest flowers, ensuring every bouquet is of the utmost quality.
Shop our selection of stunning flower arrangements today and make this Teachers' Day extra special!
Want to Say Thank You with Flowers?
Send a beautiful thank-you bouquet — hand-delivered with care across Singapore.
Browse Thank You Flowers →Frequently Asked Questions About DIY Teachers Day Card Ideas
When Is The Best Time To Give A Teachers' Day Card?
The best time to give a Teachers' Day card is on Teachers' Day itself, which is celebrated on different dates around the world. In the Philippines, it's observed on October 5th.
Presenting your card on this special day ensures your teacher receives it amidst the celebrations and feels the full impact of your appreciation. However, if you miss the exact date, giving it shortly after is still a thoughtful gesture.
When Is The Best Time To Give A Happy Teachers' Day Greeting Card?
A "Happy Teachers' Day" greeting card is ideally given on Teachers' Day itself. It's a direct way to convey your wishes and express gratitude on this dedicated occasion. The timely delivery of your card adds to the festive spirit and reinforces the significance of the day for teachers.
Are e-Cards A Suitable Alternative To Handmade Teachers' Day Cards?
While e-cards offer convenience, a handmade Teachers' Day card carries a special touch that resonates more deeply with teachers. The effort and creativity invested in crafting a physical card demonstrates a greater level of appreciation.
However, if circumstances prevent a physical card, a well-designed and heartfelt e-card can still be a thoughtful way to convey your gratitude.
What If I'm Not Good At Drawing Or Crafting?
Remember, it's the thought that counts! Even if you're not artistically inclined, a simple and sincere message in a store-bought card or a neatly written note can still convey your appreciation.
You can also explore easy DIY Teachers' Day card ideas that require minimal crafting skills but still create a beautiful and personalised gift.
Is It Appropriate To Give A Teachers' Day Card To A Former Teacher?
Absolutely! Reaching out to a former teacher with a Teachers' Day card is a wonderful gesture. It shows that you remember their impact on your life and appreciate the lessons they taught you, even years later. It's a chance to reminisce about shared memories and express your gratitude for their role in your journey.
What If I Have Multiple Teachers I Want To Give Greeting Cards To?
If you have several best teachers you'd like to thank, consider making individual cards for each one, tailoring the message to their specific impact on you. It shows you've taken the time to appreciate each teacher's unique contribution to your learning experience.
Alternatively, you could collaborate with classmates on a larger card or project that expresses your collective gratitude to all your teachers.


